In a popular move among developers, Laravel 8 has distanced itself from its auth scaffolding for a more modern approach using the Jetstream package. Laravel Docs describes Jetstream as a, “beautifully designed application starter kit for Laravel and provides the perfect starting point for your next Laravel application. Jetstream provides the implementation for your application’s login, registration, email verification, two-factor authentication, session management, API via Laravel Sanctum, and optional team management features.”
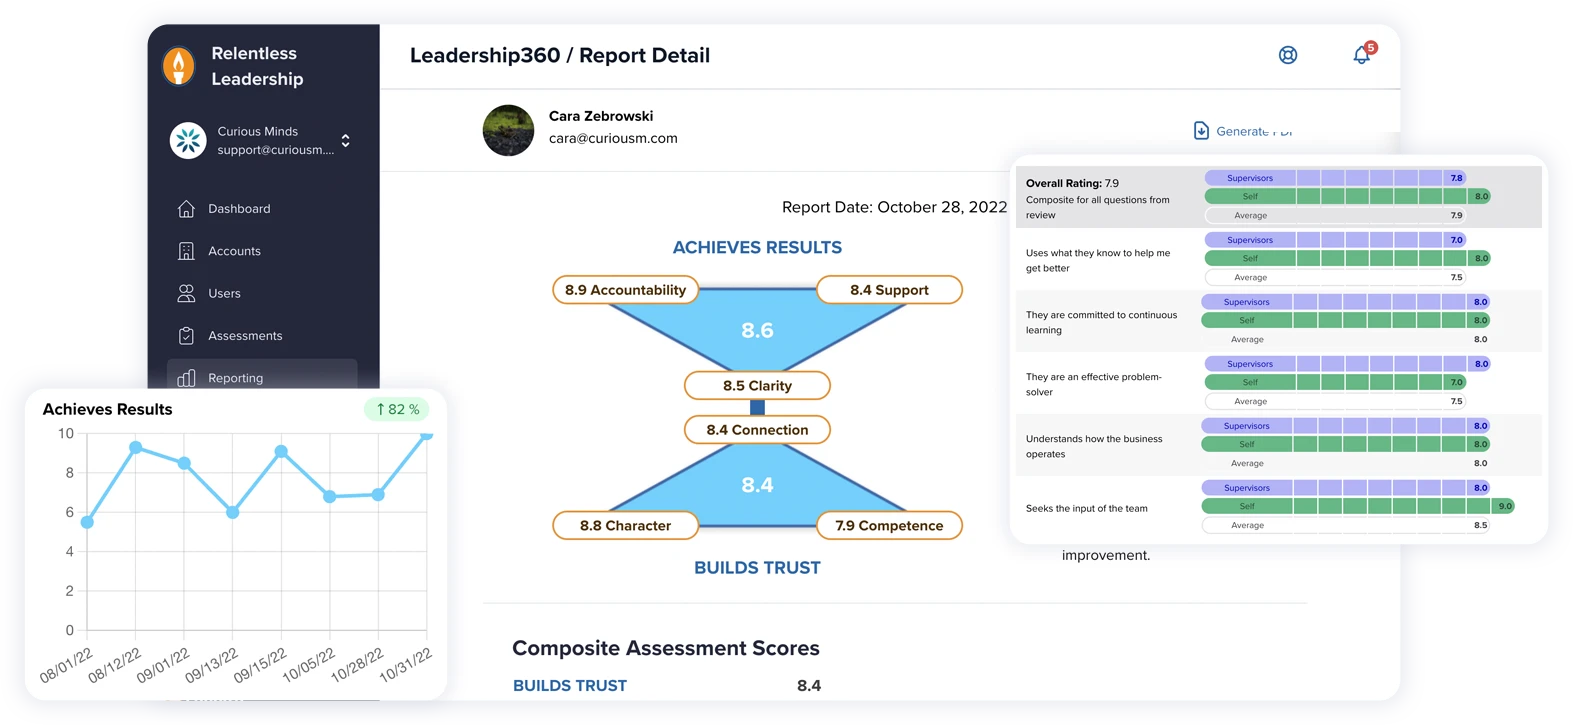
Jetstream is a more aesthetic and comprehensive way to develop and manage your authentication. In addition to the registration/login that the old scaffolding came with, Jetstream provides developers with a pre-made dashboard UI built with TailwindCSS. This move to Jetstream distanced Laravel from its antiquated jQuery and Bootstrap-based scaffolding, a move that was sorely overdue. In addition to the UI, Jetstream also comes with Laravel Sanctum, allowing developers to generate API tokens with one line of code. All in all, this move is a massive improvement.
How do I install Laravel Jetstream?
This article assumes you have a Laravel project already set up and functioning in your environment. If you don’t have a Laravel project setup you should do so before proceeding.
Using Composer running ‘composer require laravel/jetstream’ in your terminal will begin the installation process. Wait for this to complete before moving on. Once the installation is complete, compile your assets by running npm install && npm run dev. When your assets are compiled you can now run your Laravel migration with ‘php artisan migrate’. Troubleshooting A frustrating, yet common error I ran into was ‘max key length is 1000 bytes.’ It just means you need to alter the default string length in your service provider. You can navigate to app > providers > appserviceprovider.php and simply copy and paste the following code into your boot method:
Schema::defaultStringLength(191);You will also need to re-migrate, since new tables have been added. So run:
php artisan migrate:freshThis error went away after following this simple procedure.
Wrapping up
Once you’ve finished your installation and setup, you can now check out Jetstream. Run PHP artisan serve, and navigate to the development server on your browser. You should now be able to register new users, and log in existing users without having to build any of it yourself. The fun doesn’t stop there though. Once you log in you can see the dashboard, the real pride and joy of the Jetstream UI.
Once upon a time it was a hassle to have to put together the same dashboard for every single project. But now with Jetstream, a dashboard is built right in. This dashboard is fully customizable with Tailwind, so you’re not stuck with the same generic visuals on every project.
In the dashboard, a user can manage their profile (including a profile picture!), add and delete users, create teams, manage browser sessions and even generate API tokens. This package really automates away all of the hassle from developing user-based applications with Laravel, which should be the goal of smart software development – abstract the easy things so we can focus on the difficult things.
Interested in Laravel development, but need help getting your project off the ground? Don’t worry, our developers at Curious Minds are Laravel experts! We can help turn your idea into a reality.


